It’s the most overlooked part of washing machine maintenance — and also one of the most important. The washing machine filter (also called the drain filter, pump filter, or coin trap) is a small mesh component that catches lint, hair, coins, and debris before they can clog your machine’s drain pump. When it’s clean, you never have to think about it. When it’s clogged, your machine may drain slowly, smell terrible, display error codes, or stop working entirely. This guide covers exactly how to clean a washing machine filter — where to find it, what you’ll need, and the complete step-by-step process.
Filter cleaning is part of a complete washing machine maintenance routine. For the full guide covering all components and both machine types, see our complete guide to cleaning a washing machine.
Does Your Washing Machine Have a Filter?
Not all washing machines have a user-accessible filter. Here’s what to expect by machine type:
Front-Loading Washers
Almost all front-loaders have a pump filter (drain filter). It’s located at the bottom front of the machine, behind a small rectangular access panel. This is the filter covered in this guide. It needs cleaning every 3–6 months as a minimum — more frequently if you wash pet bedding, heavily soiled items, or lint-producing fabrics regularly.
Top-Loading Washers
Most modern top-loaders — especially HE (high-efficiency) models — use self-cleaning pump filters that aren’t accessible to the user. However, some older and mid-range top-loaders have a lint trap or filter inside the drum, or attached to the agitator.
- Lint trap inside the drum: Found on some agitator models — a removable mesh tube that sits inside the agitator or is clipped to the drum wall. These should be cleaned after every wash.
- No accessible filter: Many modern top-loaders rely on a pump that self-cleans. Check your owner’s manual to confirm.
If you can’t find a filter panel on your machine, check the owner’s manual or search for your model number online. Some machines have a filter behind the rear panel that requires a service technician to access.
Signs Your Washing Machine Filter Needs Cleaning
- Machine takes longer than usual to drain — the most common sign of a clogged filter
- Machine doesn’t drain fully — clothes come out sopping wet at the end of the cycle
- Error codes related to drainage — many modern machines display drain-related error codes (E3, F5, LE, etc.) when the filter is blocked
- Musty or sewage-like smell from the machine — stagnant water trapped by a clogged filter quickly develops odors
- Machine stops mid-cycle — some machines will pause and display an error if the pump is struggling against a blocked filter
- Loud grinding or humming during draining — the pump working against resistance
What You Need
- Old towels (2–3) — you will get water on the floor
- Shallow basin or baking tray — to catch the water from the filter
- Rubber gloves — the contents of the filter are unpleasant
- Small flat-head screwdriver — to open the access panel on some models
- Old toothbrush or small scrub brush
- White distilled vinegar
- Microfiber cloth
How to Clean a Washing Machine Filter: Step by Step
This guide covers the pump filter in front-loading washing machines, which is the most common user-accessible filter type.
Step 1: Prepare the Area
- Unplug the washing machine from the wall outlet. This is a non-negotiable safety step — you’ll be working near water and the machine’s electrical components.
- Lay 2–3 old towels on the floor directly in front of the machine. No matter how careful you are, some water will escape.
- Position a shallow basin or baking tray on top of the towels, directly under where the access panel is located (bottom front of the machine).
Step 2: Locate and Open the Access Panel
- Look at the bottom front of your washing machine. You’ll see a small rectangular panel, usually on the lower right or lower left. On some models it runs the full width.
- Open the panel. Most panels either:
- Snap open by pressing and pulling with your fingers
- Have a small notch for a flat-head screwdriver to pry it open
- Have a small latch or button
- Once open, you’ll see the filter cap (usually a large, ribbed circular cap) and often a small drain hose clipped nearby.
Step 3: Drain Residual Water First (If Available)
Many machines have a small emergency drain hose next to the filter cap. Using this first prevents a flood when you open the filter:
- Look for a small rubber hose (usually about 1 cm diameter, 10–15 cm long) with a plug or cap on the end.
- Position your basin directly under this hose.
- Remove the plug or uncap the end of the hose.
- Let the water drain into your basin. There can be 1–2 litres of residual water — empty your basin as needed.
- Once the water flow stops, recap or replug the drain hose.
Step 4: Remove the Filter
- Position your basin under the filter cap.
- Turn the filter cap slowly counter-clockwise. Go very slowly — even after using the drain hose, there’s typically still water behind the filter. Have your basin ready.
- As you unscrew, water will begin to flow. Keep the basin in position and continue unscrewing gradually to control the flow.
- Once the water stops flowing, unscrew completely and pull the filter out.
- Look inside the filter housing (the hole in the machine where the filter was). Shine a torch in to check for any obstructions — trapped socks are more common than you’d think.
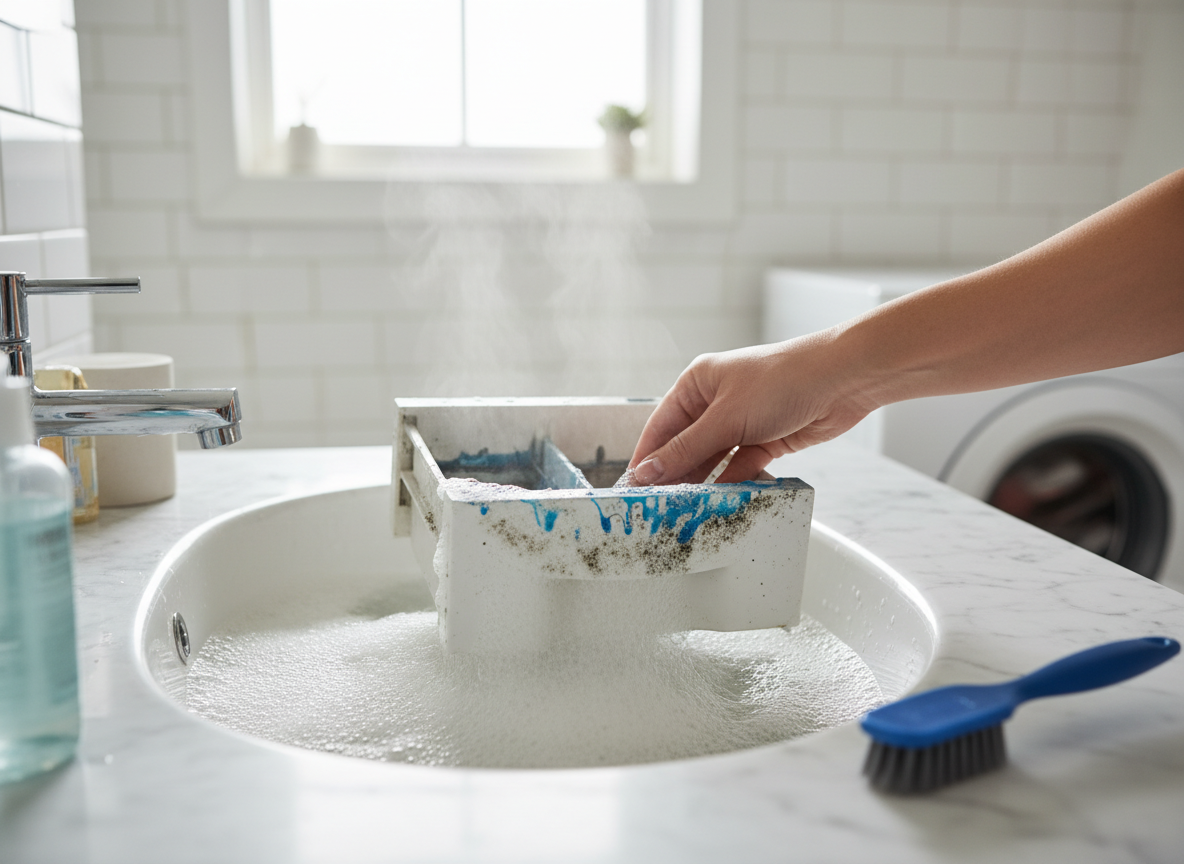
Step 5: Clean the Filter
- Hold the filter over your basin or the kitchen sink and remove all debris by hand. You’ll likely find hair, lint, small fabric pieces, coins, hair ties, and possibly unidentified organic sludge.
- Rinse the filter under hot running water, rotating it to dislodge all loose material from the mesh.
- For stubborn buildup or biofilm on the mesh: apply white distilled vinegar to the filter and let it soak for 5–10 minutes. The acid dissolves mineral scale and organic buildup effectively.
- Scrub the filter with a toothbrush — work around the mesh and in all the grooves. Pay attention to the rubber seal ring around the base of the filter, which can accumulate residue and mold.
- Rinse the filter thoroughly under hot water until it runs completely clear and the filter looks clean.
- Wipe the rubber seal ring dry.
Step 6: Clean the Filter Housing
- Wipe the inside of the filter housing (the hole in the machine) with a damp cloth to remove any sludge or buildup on the walls.
- Check that no debris is blocking the pump inlet — use a torch to see clearly.
- If you can see the impeller (the spinning part of the pump) at the back of the housing, carefully check that it can rotate freely. A coin or hair clip caught in the impeller is a common cause of drainage problems.
Step 7: Reinstall the Filter
- Align the filter with the housing and insert it.
- Turn the filter cap clockwise until it’s fully tightened — it should seat firmly with no movement.
- Important: An incorrectly seated or loose filter will leak. After reinstalling, press firmly on the cap to make sure it’s secure before closing the panel.
- Close and snap the access panel shut.
- Remove the towels and basin from the floor.
- Plug the machine back in.
Step 8: Run a Short Test Cycle
- Run a short wash cycle — even just a rinse and spin cycle with an empty drum.
- After the cycle starts, check the floor around the machine’s base for any leaking water.
- If water is leaking from the filter area, stop the machine, unplug it, and check that the filter is properly seated and tightened.
- If no leaks occur and the machine drains normally, the filter cleaning is complete.
How to Clean a Top-Loader Lint Trap Filter
If your top-loading washer has a removable lint trap inside the drum or on the agitator, the cleaning process is much simpler:
- After the wash cycle ends, locate and remove the lint trap. It may be a mesh tube inside the agitator, a filter clipped to the upper drum rim, or a filter bag attached to the water inlet hose.
- Hold it over the trash and peel or scrape off the collected lint by hand.
- Rinse the trap under running water to clear any remaining lint through the mesh.
- For residue buildup: soak in warm soapy water for 10 minutes, then scrub with a toothbrush and rinse.
- Replace the lint trap before the next wash cycle.
How Often Should You Clean the Filter?
- Standard households: Every 3–6 months
- Homes with pets: Every 1–2 months (pet hair clogs filters quickly)
- Heavy daily use (family of 4+): Every 2–3 months
- If you wash heavily soiled items (work clothing, muddy sports kit): Monthly
What to Do If the Filter Is Stuck
If the filter cap won’t turn after extended non-cleaning, mineral scale may have sealed it in place. Try these approaches:
- Apply penetrating lubricant (such as WD-40) around the edge of the filter cap. Let it sit for 10–15 minutes, then try again with a firm grip.
- Use rubber grips or a rubber mat for better traction on the cap.
- Warm the cap with a cloth soaked in hot water — thermal expansion can help loosen it.
- If none of these work, call a washing machine repair technician. Forcing a stuck filter cap with tools can crack the housing.
Frequently Asked Questions
Where is the filter on a washing machine?
On front-loading washing machines, the drain filter is behind a small rectangular access panel at the bottom front of the machine — usually in the lower right or lower left corner, or running the full width of the base. On top-loaders, it depends on the model: some have a lint trap inside the drum or on the agitator, while many modern top-loaders have self-cleaning filters with no user-accessible component. Check your owner’s manual for your specific model.
How do I know if my washing machine filter is blocked?
The most reliable signs of a blocked filter are: the machine drains slowly or not at all, clothes are wetter than usual after the spin cycle, you’re getting drainage error codes on the display, or there’s a persistent foul smell even after running cleaning cycles. If you haven’t cleaned the filter in over 6 months, assume it needs cleaning even if you haven’t noticed symptoms yet.
Can a dirty washing machine filter damage the machine?
Yes. A severely clogged filter forces the drain pump to work against resistance, which can overheat and burn out the pump motor — a repair that typically costs $150–$300. In extreme cases, the machine may shut down to protect the motor, appearing as a complete breakdown. Regular filter cleaning is far cheaper than pump replacement.
My washing machine leaked after I cleaned the filter — what should I do?
A post-cleaning leak almost always means the filter wasn’t reinserted correctly. Unplug the machine, open the access panel, and re-examine the filter. Make sure the rubber seal ring is properly seated in its groove and the cap is fully tightened clockwise until it seats firmly. Run a short test cycle, monitoring for leaks. If the filter housing itself appears cracked or damaged, call a repair technician.
Conclusion
Cleaning the washing machine filter is a 15-minute task that protects a $400–$1,200 appliance and prevents drainage problems, odors, and costly pump repairs. Do it every 3–6 months as part of your regular washing machine maintenance routine — and more often if you have pets or wash heavily soiled items. The process is straightforward once you know where the filter is and what to expect when you open it.
For a complete maintenance plan for your washing machine — including how to clean the drum, gasket, detergent drawer, and run effective cleaning cycles — visit our comprehensive guide: How to Clean a Washing Machine: The Complete Step-by-Step Guide.
Leave a Reply